Greetings from SFO!

-
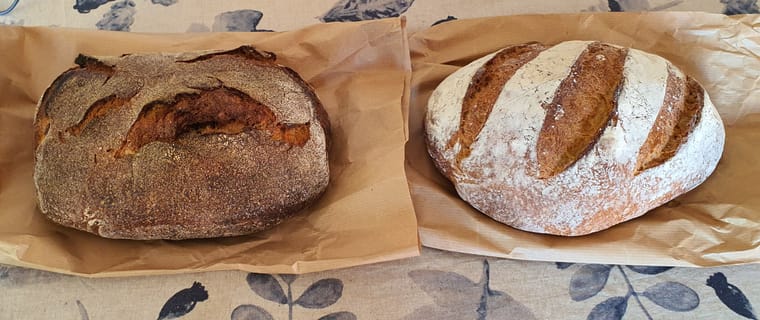
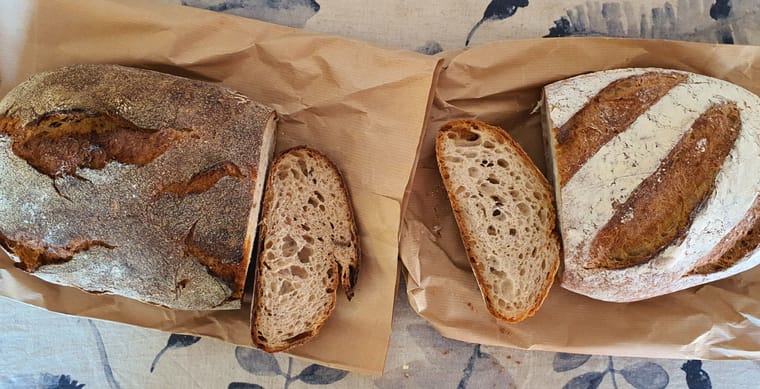
It is super easy, @Steve-Miller . Here are the two recipes I make on a regular basis, though I may modify the first one to leave out the oil and bump the water up to 300 g. We like the no oil version. It's keeping much better than I thought.
Italian-style sourdough bread
150 g starter
285 g water
25 g extra virgin olive oil
500 g bread flour (I use King Arthur unbleached bread flour from Costco)
10 g saltTo make dough (day 1):
Combine starter, water, and oil in large bowl. Stir to mix. Add flour and salt. Mix to make a shaggy dough.
Cover and let rest for 30 minutes to an hour and do the first stretch. Stretch dough again every few hours, for a total of 3 or 4 times.Before going to bed, form loaf, cover it, and put it in the refrigerator overnight.
Baking instructions (day 2):
Preheat oven to 450 degrees. Put formed loaf into baking dish lined with parchment paper, slash bread, and put cover on the dish. No need to heat the baking dish. Though I use a clay baker; not sure if it will work to skip the preheat if you have cast iron.
Turn oven down to 400 degrees. Place covered baking dish in oven and bake for 20 minutes. Remove cover and bake for an additional 40 minutes. Remove bread from oven and cool on rack for one hour before slicing.
Sourdough rye bread
360 g bread flour
170 g rye whole grain flour
395 g water
100 g sourdough starter
21 g honey
11 g salt
2 g caraway seedsTo make dough (day 1):
Combine starter, water, and honey in large bowl. Stir to mix. Add bread flour, rye flour, caraway seeds, and salt. Mix to make a shaggy dough. This dough is stickier than the Italian sourdough bread.
Cover and let rest for 30 minutes to an hour and do the first stretch. Stretch dough again every few hours, for a total of 3 or 4 times.
Before going to bed, form loaf, cover it, and put it in the refrigerator overnight.
Baking instructions (day 2):
Preheat oven to 450 degrees. Put formed loaf into baking dish lined with parchment paper, slash bread, and put cover on the dish. No need to heat the baking dish. Though I use a clay baker; not sure if it will work to skip the preheat if you have cast iron.
Place covered baking dish in oven and bake for 30 minutes. Take covered bread pan out of oven. Carefully remove the loaf from the pan and put it back in the oven on the rack, no pan. Bake for 10 minutes for even browning of the loaf. Remove bread from oven and cool on rack for one hour before slicing.
I got my supplies from breadtopia.
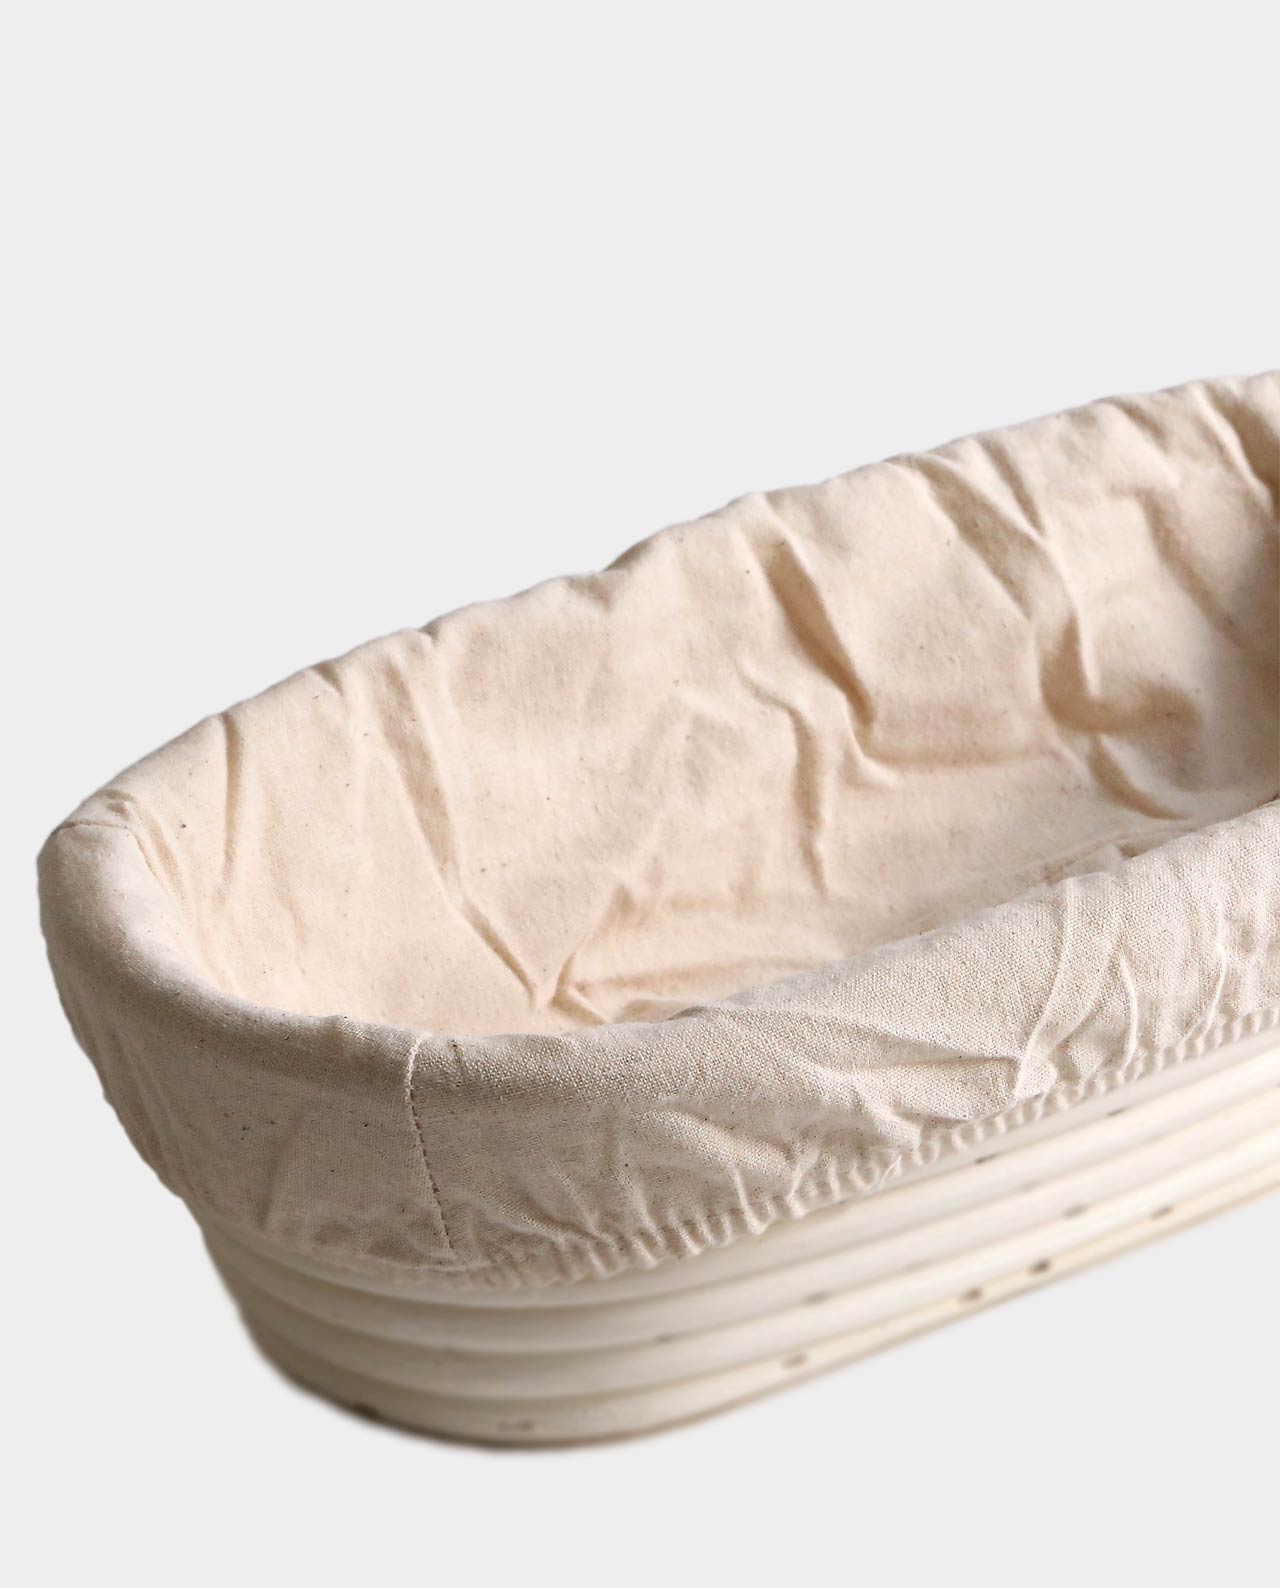
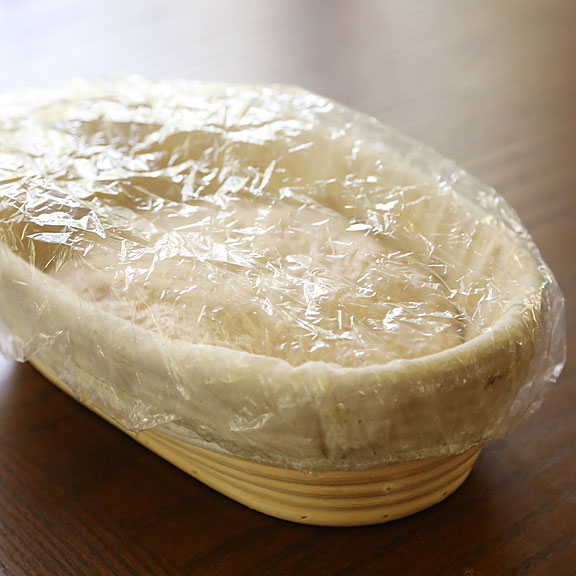
I have this basket and the basket liner. Makes it really easy to get the bread out.
And I bought my clay baker from them because I wanted an oblong shape instead of round.
I also like these little shower caps to cover the bowl and later the proofing basket:
-
Andy - Those look yummy.
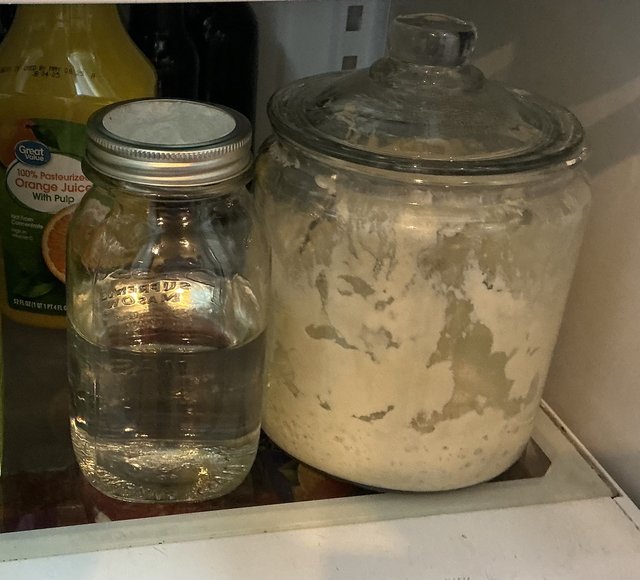
Steve, it’s really easy once you get the hang of it. I keep a large amount of starter in the fridge so I don’t have to worry about it keeling over. I never discard either - if you have a large jar and you don’t bake all the time - this works, there is plenty of room in the jar for extra starter, and there are all sorts of things you can make with extra starter besides bread (overnight sourdough waffle batter is the best I’ve ever had, and there are lots of cracker recipes that are great). I don’t weigh and I don’t feed on a regular schedule, I usually only feed it when I pull some out - so about once a week, but sometimes longer - I just add extra water and flour when the starter looks like it needs feeding. It can get really flat with lots of liquid on top and it still perk right up when it’s fed. (I usually pour the liquid off when that happens, just to keep the amount of starter down a little, but if you want your bread sour, you are supposed to keep that). I keep a container of water in a large mason jar in the fridge, with a canning ring over a coffee filter - that’s the water I use to make the bread and feed the starter - the coffee filter lets the chlorine get out of the water. Sourdough microbes don’t like chlorine (they also don’t like iodized salt). Also - if you are going to be away for awhile, you are supposed to over flour it - so it’s almost dry, keep it in the fridge, and then just rehydrate it when you get home. I did that once - it worked great.
-
I think those yeast beasties must be pretty resilient. I use iodized salt and water straight out of the tap and my starter seems to do OK. But it's easy enough to buy non-iodized salt, so I'll get some on my next trip to the grocery store. Or I'll try some of the pink Himalayan salt I bought at Costco a while ago; I forgot about it lounging in the back of the spice cabinet. And I can try the jar of water in the frig to evap the chlorine. I'm always up for a lab experiment. We'll see if anything changes!
-
When I first got into doing the starter thing I felt pretty overwhelmed by all the information and almost didn't dive in. Then I got the starter going (I actually ordered some dried starter from Etsy, which in retrospect was pretty silly). At first all that feeding seemed like it was crazy. Then I read that you can refrigerate the starter and not feed nearly as often. That was a game changer. That and the finding the recipe I posted above. Well, it was almost the same recipe but it was like four pages long. But I guess people are just trying to share their experience and provide a lot of detail. I cut it down to the bare minimum once I made a couple of loaves. It's wicked simple.
Everything I read said you have to preheat the baking vessel, which in my case was a Lodge combo cooker. Now I'm finding out I was using it upside down, putting the bread in the larger portion of the pot rather than the shallower lid. I'm still not sure how that works because I switched to an oblong clay baker.
Anyway, I hadn't bought Ove-Gloves yet and was worried that I would burn my hands during the transfer of the dough from the proofing basket to the heavy cast iron baker. When I found the recipe I use and it said you could just put the cold vessel with the dough in it into a preheated oven, I was overjoyed. I've been making it that way ever since and it's worked out well. I mostly do those two breads, waffles, and pancakes. I'm going to try the chocolate chip cookies at some point and I'm currently scouring around for sourdough challah recipes.
So @Steve-Miller , take heart. There's not much you can do to screw it up. I'm proof positive!
-
Ove Gloves are the BEST. Cold start is the best! Yes, once you realize it’s pretty hard to screw up, it seems so simple! It took my homemade starter longer than I thought it would to really get going. I tried a loaf of bread before it was really ready. The biggest realization for me was that you could make sandwich bread and pizza dough same day with a spent starter. It will rise, it just takes a little longer, I put mine in the oven on the proof setting, with the light turned on. (Turning the light on heat the oven up really well. HOWEVER - I’m finding that the texture of the bread and the pizza dough are just a tad nicer - bigger more uneven holes - if you start with a starter that is a little more bubbly.
I also don’t weigh anything now - and I half-assed measure - for my sandwich bread dough and pizza dough, 3/4 cup water, as much salt as you like (1-2 t) about 3/4 cup starter, and about 2.5 - 3 cups flour (totally depends on how wet my starter is). Plus 2 T honey (sandwich loaf) or 2T olive oil (pizza dough). I toss all but about 1 cup of the flour into the stand mixer and turn it on, adding the ret of the flour slowly til I have a dough that doesn’t stick to the sides, total stand mixer 5 - 8 minutes. Then into the greased pan or a bowl to proof. Sandwich bread bakes at 350 for 35 minutes. Pizza at 435 on parchment paper on a preheated baking stone for about 15. I do the stretch and fold stuff if I’m going to overnight proof and bake a round loaf in the Dutch oven.
-
Sandwich loaf gets an egg yolk/water wash before going into the oven. I still haven’t found the best proofing cover for it - I use another loaf pan upside down - but if I don’t catch it before it touches the top it sticks, and I loose the round top - and the loaf ends up a little flatter (doesn’t matter other than looks). I need something i can overturn over the entire loaf pan (that I set on a cookie sheet). Like a much bigger loaf pan.
-
-
Sandwich loaf gets an egg yolk/water wash before going into the oven. I still haven’t found the best proofing cover for it - I use another loaf pan upside down - but if I don’t catch it before it touches the top it sticks, and I loose the round top - and the loaf ends up a little flatter (doesn’t matter other than looks). I need something i can overturn over the entire loaf pan (that I set on a cookie sheet). Like a much bigger loaf pan.
@Jodi said in Greetings from SFO!:
I still haven’t found the best proofing cover for it
Hey, look what I stumbled upon! It's for baking but would work as a proofing cover...though it's pretty pricey...
https://www.theperfectloaf.com/introducing-baking-sourdough-bread-with-the-baking-shell/
-
History of bread - starting 12000 BC! It’s an hour long but I learned a lot!
Link to videoI want this guy’s job.
-
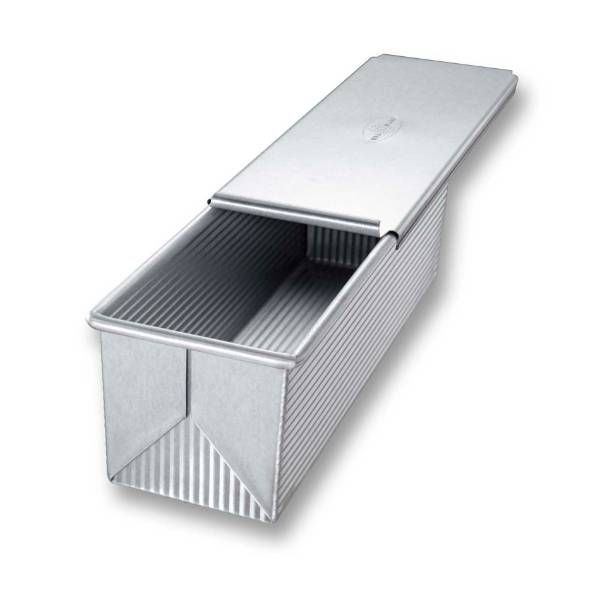
Hey @Jodi - would something like this work as a proofing cover? They come in different sizes; not sure if this one is tall enough.
-
I forgot you have a proofing feature on your oven.
Maybe you can find an old Weber Smoky Joe somewhere and use the lid. Not sure how to get the smoky smell out, though.
Or maybe this, if you're up for a long drive....

https://kalispell.craigslist.org/tag/d/kalispell-toy-weber-grill/7826117053.html
j/k...that looks like plastic, too....
-
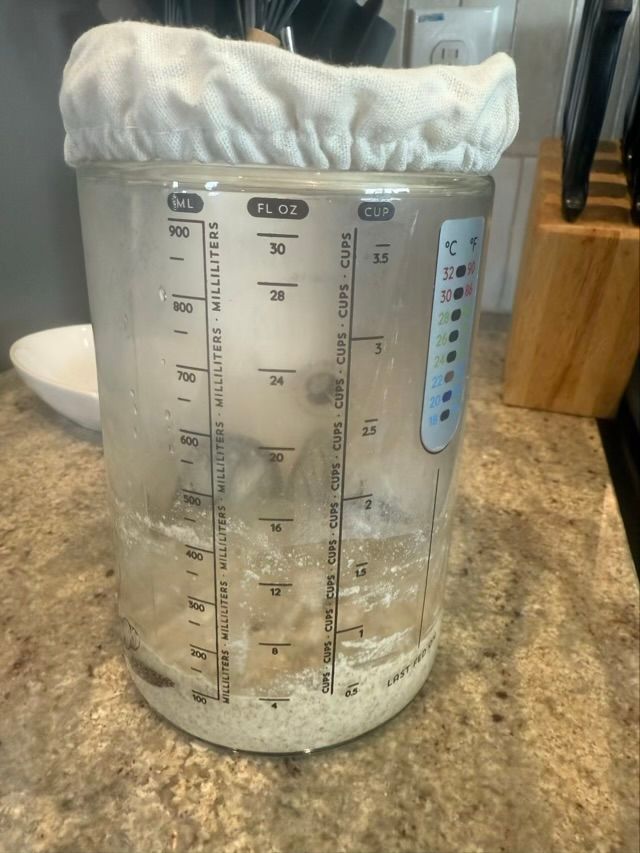
Yesterday I fed a bit of my starter some rye flour as an experiment. Holy cow! @Jodi was right...
The jar was half full and it spent the night in the frig. It's almost up to the top and I'll have to find a bigger jar!
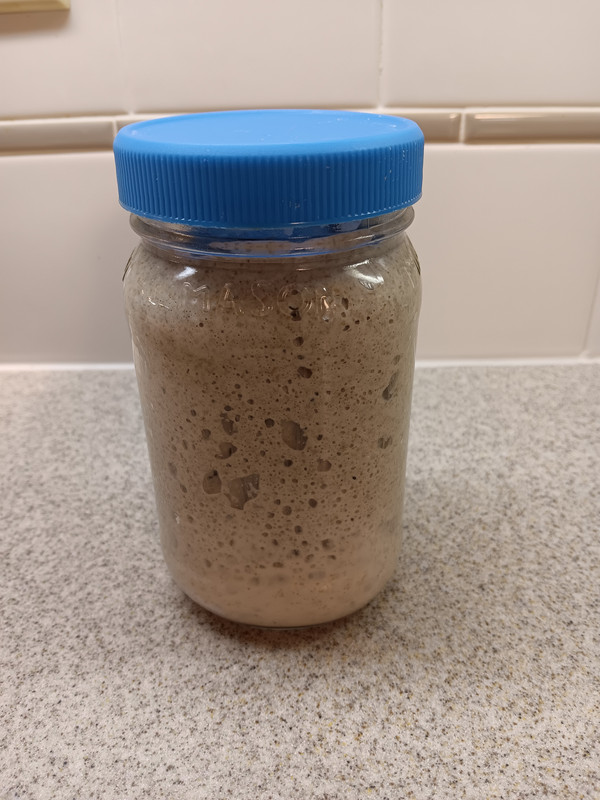
Will let it develop for a while and try it in my next loaf of bread in a few days.


Hello! It looks like you're interested in this conversation, but you don't have an account yet.
Getting fed up of having to scroll through the same posts each visit? When you register for an account, you'll always come back to exactly where you were before, and choose to be notified of new replies (either via email, or push notification). You'll also be able to save bookmarks and upvote posts to show your appreciation to other community members.
With your input, this post could be even better 💗
Register Login